Vivosun Heat Mat Instructions
Germination and Cloning are two very important topics when growing cannabis. Whether you plan on growing from seed or taking cuttings from a Mother Plant, a heat mat can be an invaluable tool to help ensure good, successful start-ups in the growing cycle. Having a good start makes all the difference in the world while failing to germinate a seed can be the end before you even get to begin.
Germination and cloning with VIVOSUN heat mat
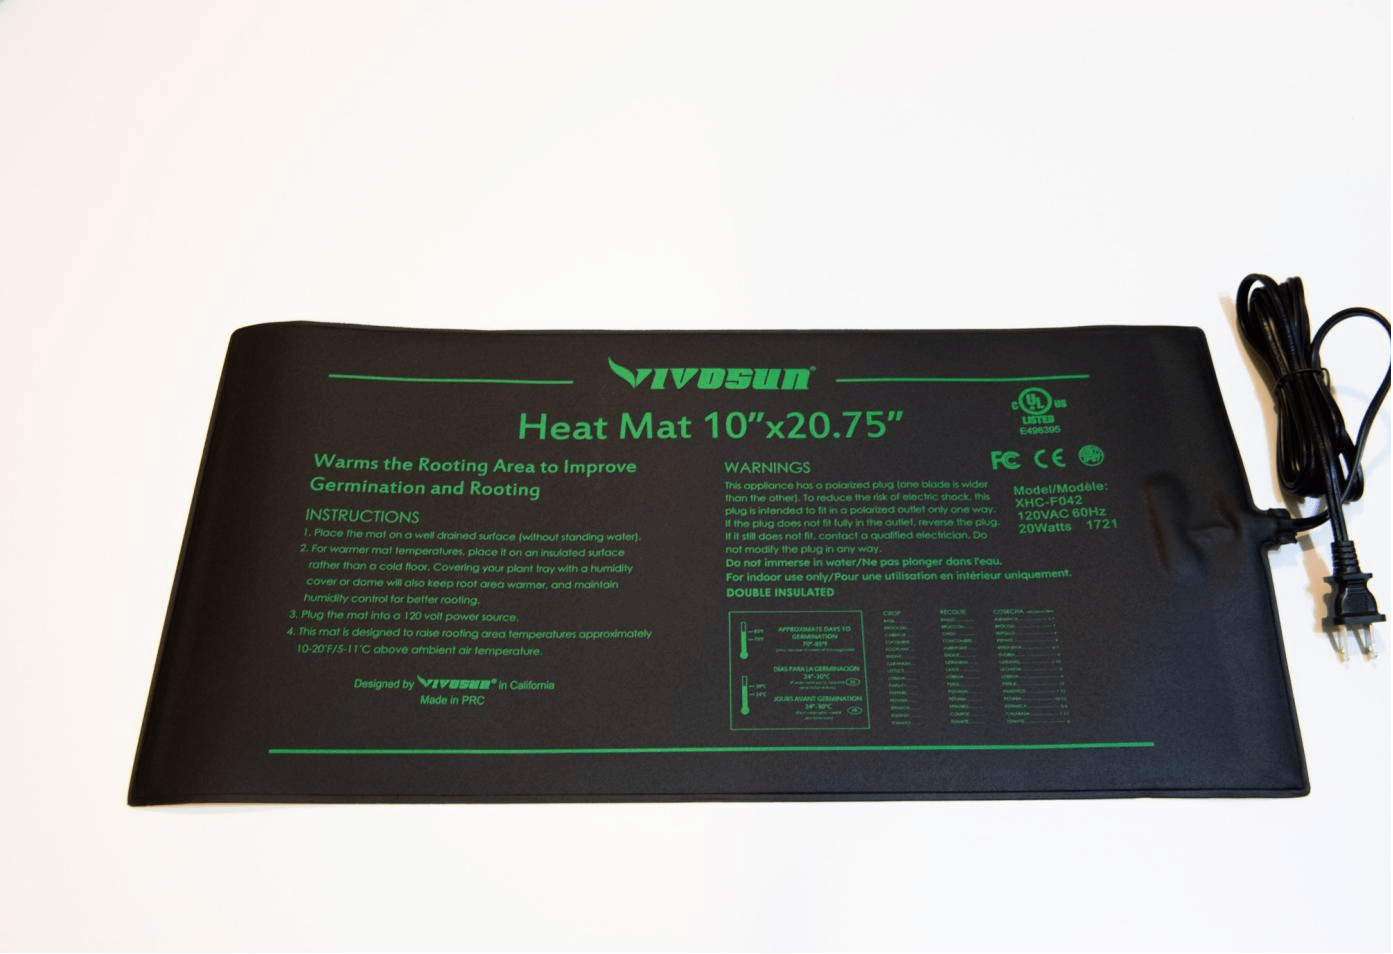
The VIVOSUN 10” x 20.75” Heat Mat and Digital Thermostat Combo set is perfect when paired with a standard-sized germination tray with a humidity dome and the addition of the thermostat to this setup takes the danger out of cooking your precious seeds.
A regular table or bench is a good foundation to lay the mat down with the germination tray sitting on top of it since the wood will not overheat and helps insulate the mat from the bottom. As heat helps to build humidity and help promote a good growing environment, a heat mat stimulates germination in a tent. And the heat mat can also be used 24/7 with very low power consumption since it regulates itself—the heater is only cycling on and off when needed.
Many growers like to use root plugs, peat moss or coco coir and perlite mix, rock wool, or soil to fill the cells of a tray. Here is how to prepare your seedling tray for germination: Evenly spread the growing medium you choose into the number of cells you will be growing. Using something pointy like a pencil or chopstick, make a small divot in the medium, about ¼” deep, and place your seed. Only use one seed per cell.
There are two main beliefs when asked which way to position the seed: pointy end up or pointy end down. The most common recommendation is to plant with the pointy end down. This lets the seed push straight up and through the surface faster, but usually, the seed is still attached to the cotyledon, or the first leaf-like structures; the first true leaves come in after. Positioning the pointy part of the seed up will make the seed pull up backward as it tries to break ground and often will leave the seed casing in the medium, but may take a day or so longer to sprout.
For Cloning, you want to take nicely developed tops with 2 or 3 nodes. Be sure to use sterile scissors or a knife by cleaning them with alcohol. After cutting a clone from the mother plant, immediately take the bottom leaves off and place the stems in a glass or container with clean dechlorinated water until you have the desired amount of clones. Once collected, clean them up more by taking any lower leaves off and just leaving the top few leaves.
Cut the bottom of the clone’s stem at a 45-degree angle leaving about a 4 or 5-inch clone. Lightly scrape the outside wall of the stem that will be placed into the soil with the edge of the scissor or knife. The use of rooting hormones can also increase your chances of a higher success rate. If you are using a rooting hormone, now is the time to dip the tip in there, then they go right into the cell.

Now that our seeds and clones are set in their cells we need to create a viable environment for them to thrive. Place the heat mat on a solid surface that does not fluctuate in temperature too much, a good solid table or counter is perfect. Place the tray right on top of the heat mat.
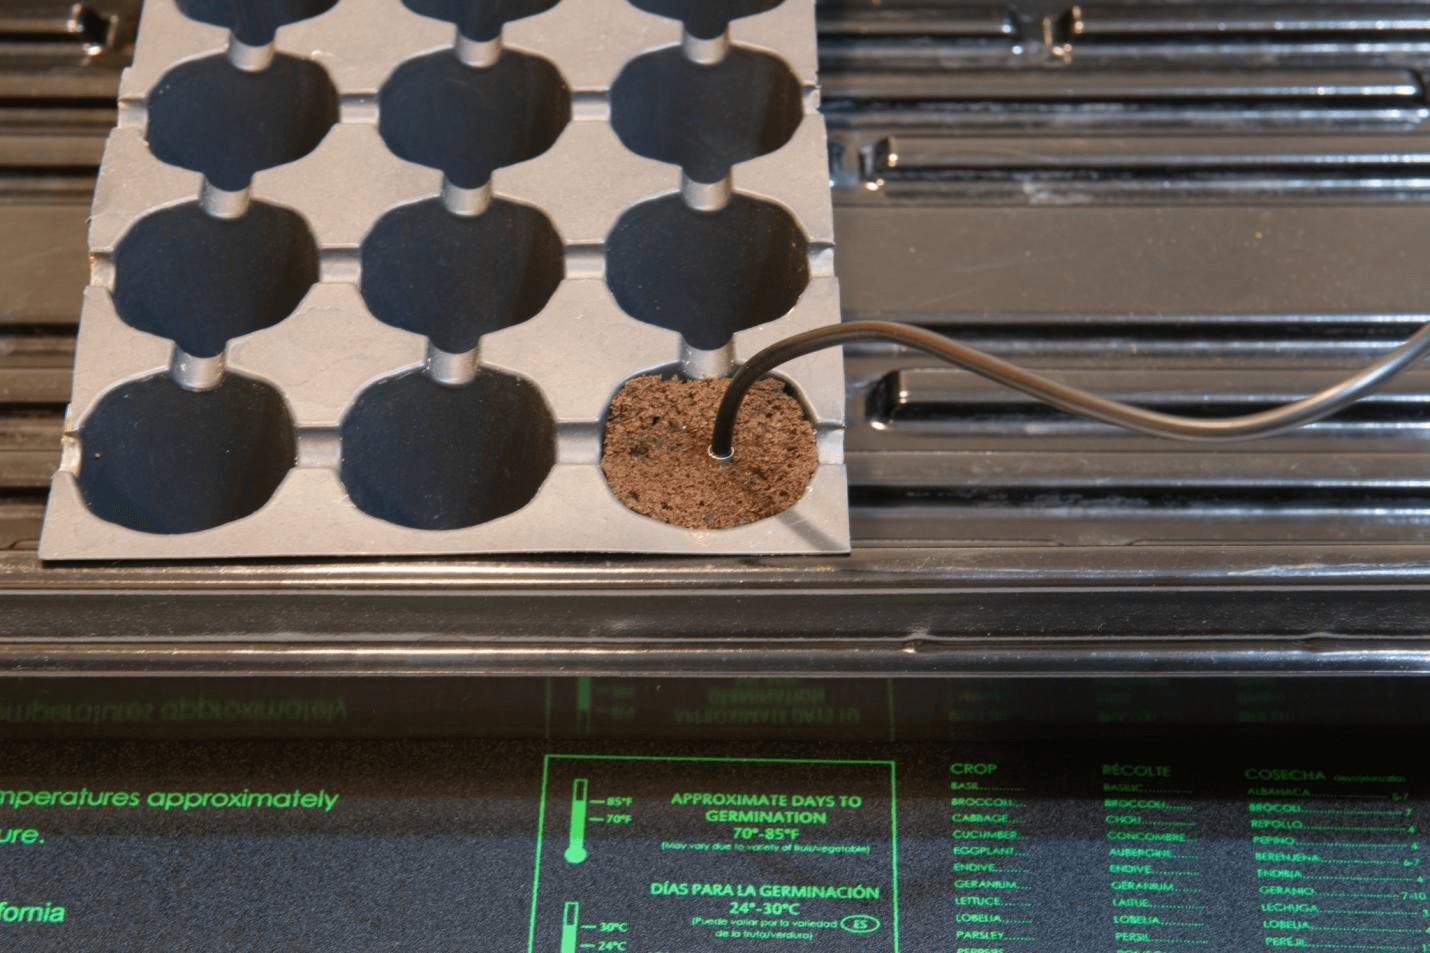
Remember to always practice electrical safety; do not let water get in contact with the electrical parts of the mat or the digital controller. Place the cells in the tray and insert the temperature probe into one of the cells. Bottom feeding is usually the preferred method of watering, so as not to disturb the seed as it tries to break ground.
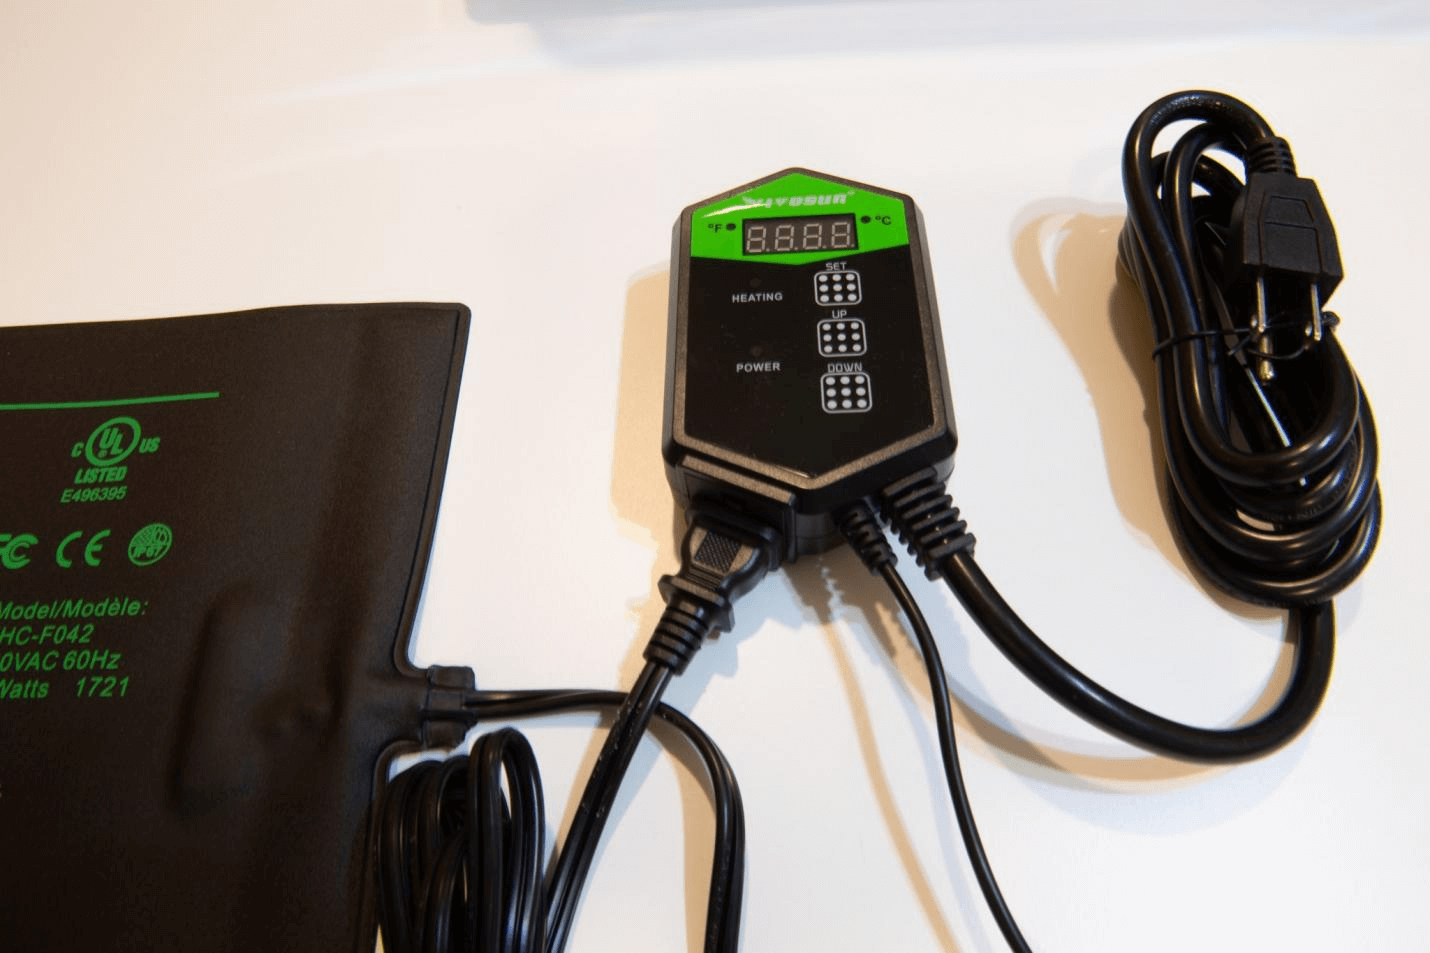
Using regular tap water at about 6 PH should be fine, but some growers also use root stimulators. Using a misting spray, spray the tops of the cells gently, and if you are cloning spray the leaves also. Cover the tray with the humidity dome and leave a crack in the top vents to allow some air to exchange. Plug the heat mat and the sensor into the controller, and then plug the controller into the wall socket.
The VIVOSUN GrowHub Controller is very easy to use: just hold down the set button then adjust your temp, then hit the set button again. You may find that a little adjustment may be needed after a few hours. If it’s too hot, then turn down your target temperature. 70-75°F is a good starting point. If it climbs higher than 80°F, adjust it down until its max temp does not exceed your parameters.
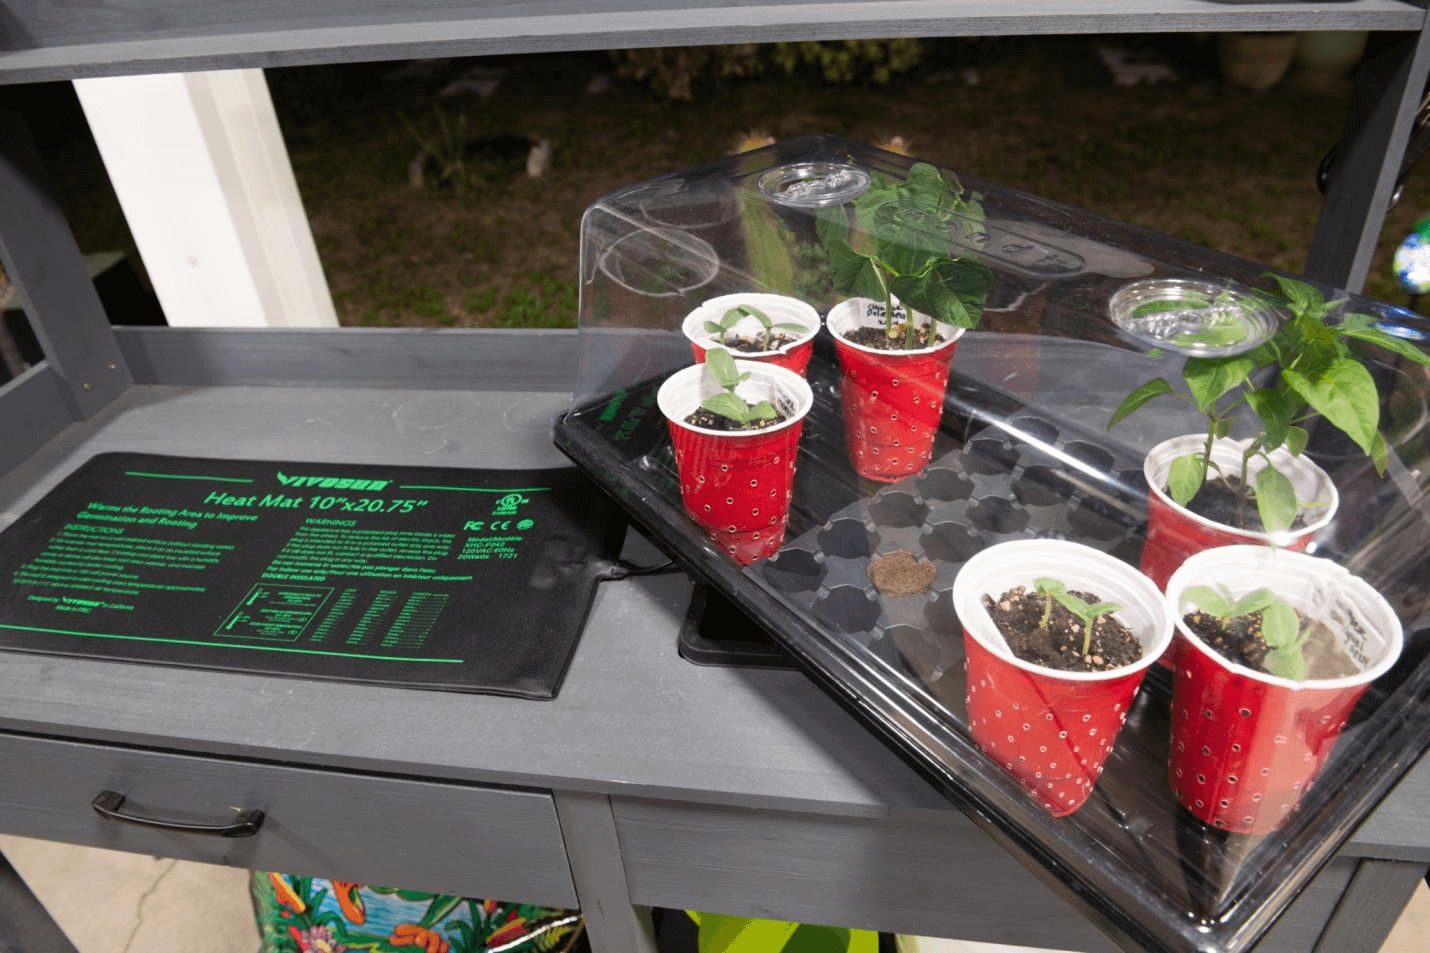
The use of the heat mat can also increase the chances of your plants sprouting around the same time. Without a heat mat, the temperature can fluctuate and stay cold for extended amounts of time, slowing the growth process and making them sprout inconsistently. The use of a heat mat will maintain a warm environment and help build up humidity levels under the dome making the process faster.
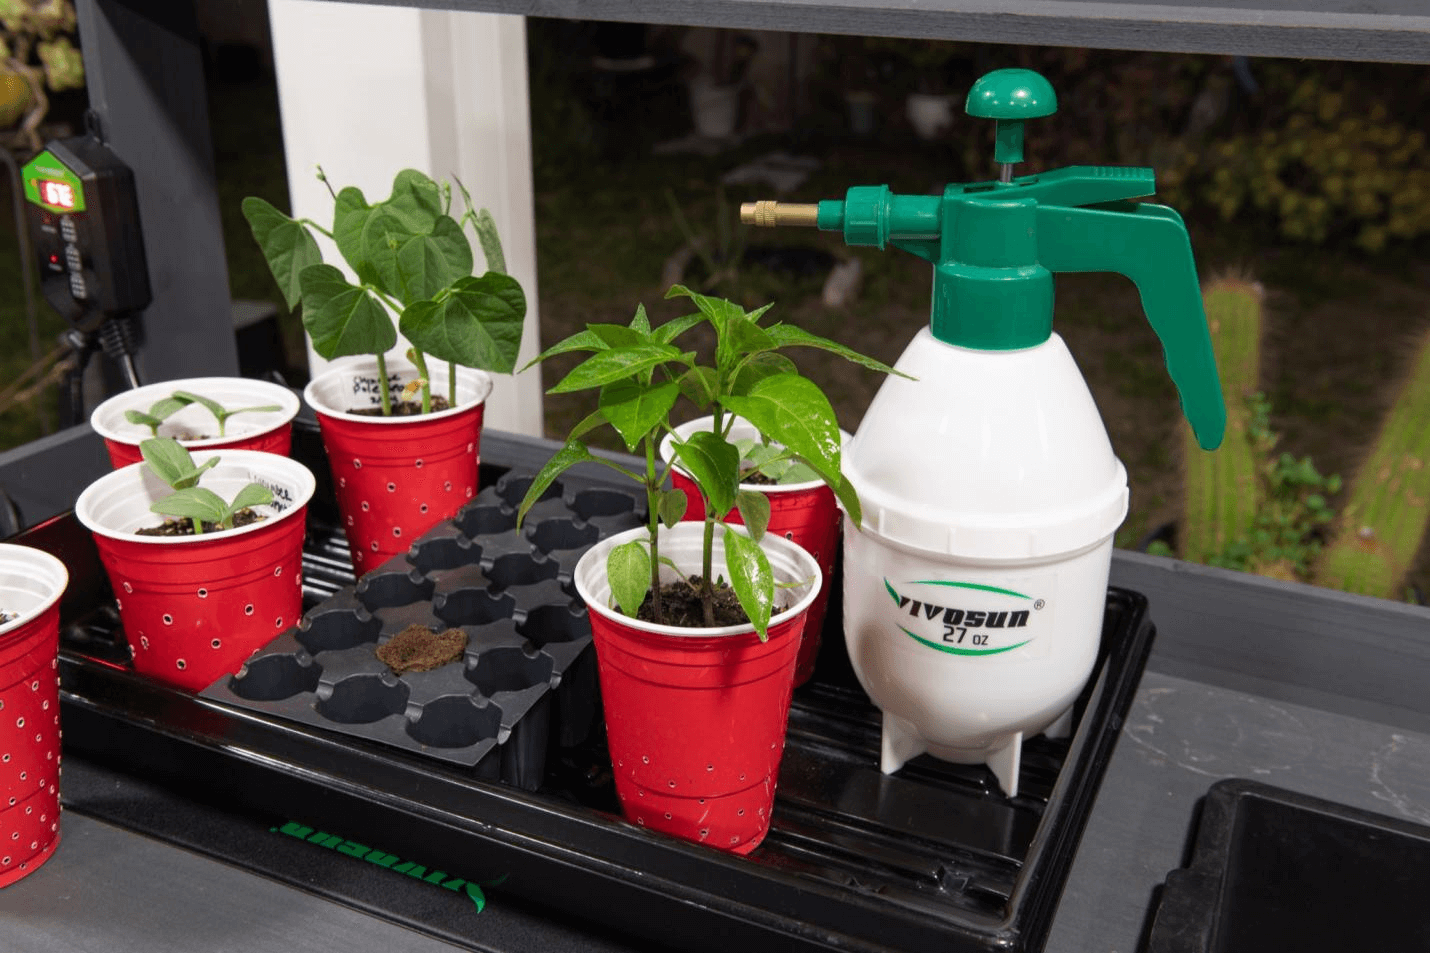
Once the plant roots develop the temperature and humidity can start coming down. Hardening Off is the practice of letting the plant slowly get used to this change, instead of shocking them by just taking off the humidity dome and taking away the heat mat at once.
Every day, turn down the heat temperature and start opening the top vent in the humidity dome. Once the heat mat can be taken away, take the humidity dome off once a day, increasing in duration that the seedlings are exposed each day, for about one week.
Every plant can have some issues, so pay attention to the plant and look for signs of stress during this period. Soon after they are acclimated, you are good to go into the next phase: Transplanting!
If you have any questions, please don’t hesitate to reach out to us!
And be sure to check out our other blog posts for useful tips on becoming a great grower!
You may also like:
All About Cloning Your Cannabis! Step by Step

